Whether you are a candle enthusiast who enjoys making candles as a hobby or an entrepreneur seeking to launch a home-based candle-making business, this guide is for you. Candles have been around for thousands of years, and making them is pretty simple. However, the process can become more complex when you scale up production to industrial automation. You can seek professional assistance and build a team to help you grow your business. The following provides a simple method for making jar soy candles in the comfort of your own home.
It would be best if you had the following objects.
Materials needed for candle making using soy wax:
- Soy wax (double the weight of the jar size)
- Candle wick(s)
- Fragrance oil in the desired aroma (small bottle)
- Spatula or tablespoon for stirring
- Heat-resistant jar
- Pot for boiling water
- Thermometer
- Objects for holding the wick in place (e.g., chopsticks, pencils, pens)
- Material for protecting surfaces (e.g., wax paper, towel, disposable newspaper)
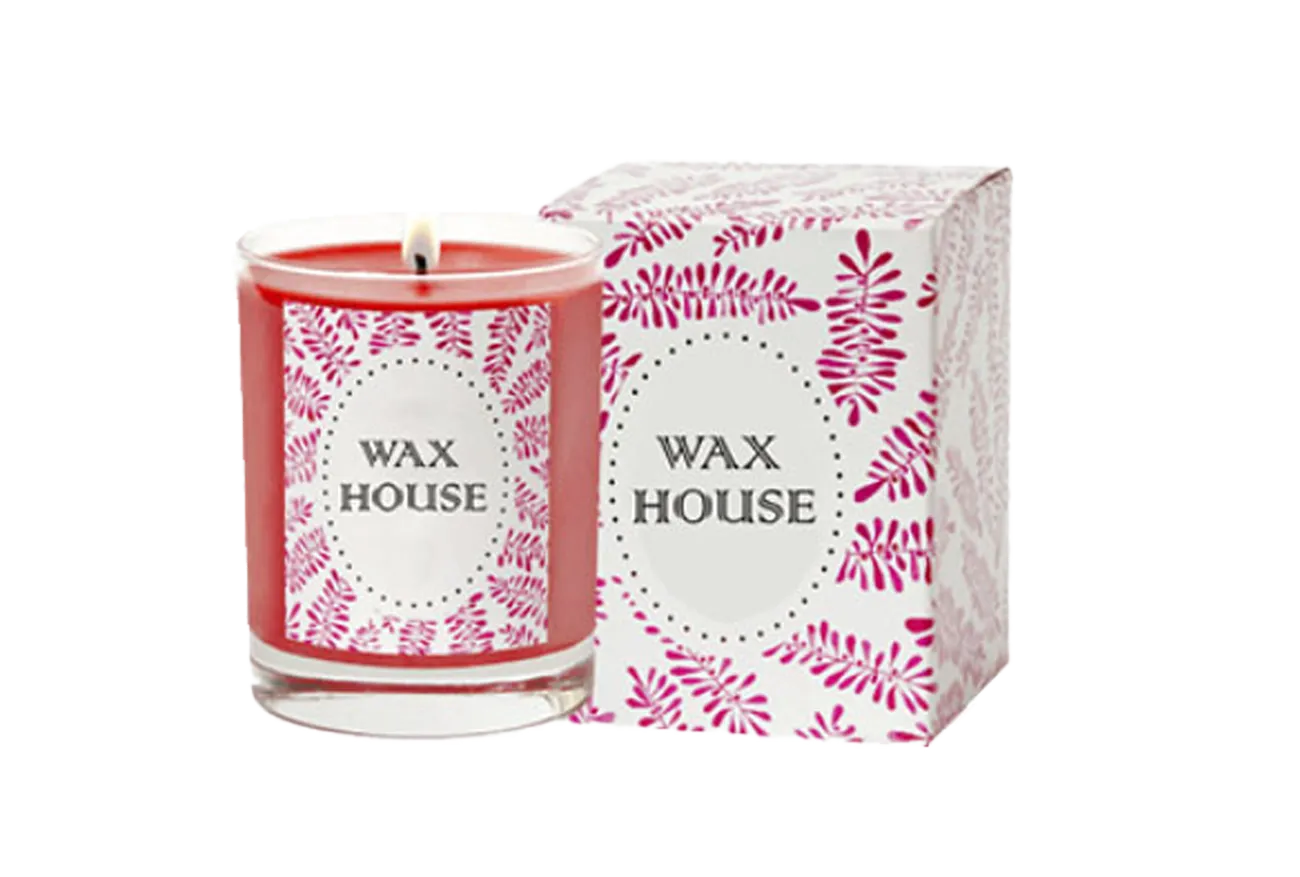
- Custom boxes (optional for selling purposes)
Step#1: Melt the Soy Wax
Instructions for melting soy wax:
- Place the soy wax in a boiling pot.
- Allow the wax to melt for 10-15 minutes while stirring occasionally.
- Once thoroughly melted, proceed to the next step.
Step#2: Add the Fragrance Oils to the Melted Soy Wax
You can easily purchase fragrance oils for soy candles online if they are not available at local stores. Mix different fragrances to create a unique scent, or choose from popular options like Apple Harvest, Coffee, Orange Chili Pepper, and Peach Nectar. There are countless options available. Simply add a few drops to melted soy wax and follow the instructions provided with the fragrance oil, even if you want to customize it. Avoid adding too little or too much fragrance oil, as this can result in an undetectable or overpowering scent.
Step#3: Glue You, Wick, to the Jar Bottom
To secure the candle wick to the bottom of the jar, use a high-quality adhesive or super glue. After pouring the wax, allow it to cool for 5 minutes while maintaining its melted consistency by monitoring the temperature with a thermometer.
Step#4: Pour the Soy Wax into the Jar
You’re ready to pour when the melted soy wax temperature reaches 140 degrees. Gently hold the wick and slowly pour the wax into the jar. Take care not to pull the wick too hard, as this may cause it to detach from the bottom. Instead, apply just enough tension to keep it straight. Leave some of the top parts of the jar empty for the wax to settle.
Step#5: Set the Wick
To keep the wick straight, place a pair of chopsticks, two pencils, or pens along the top rim of the jar with the wick in between, centered in the melted wax. This method is effective, but you can also explore other ways to keep the wick upright if desired.
Once the wax has set and solidified into the candle jar, melt any remaining wax and pour it in, ensuring that the wick does not get submerged.
Step#6: Cut off the Excess Wick
The candle wick should stand half an inch above the wax surface in the jar, and the rest can be trimmed with scissors.
Your homemade scented candle is now ready! Making candles is simple and can be highly profitable if mass-produced in countries with low labor costs, such as India and China. To sell them, you’ll need wax melt boxes for packaging and branding your candles to bring them to the market.
